| .github | ||
| .storybook | ||
| cypress | ||
| public | ||
| src | ||
| types | ||
| .dockerignore | ||
| .eslintrc.json | ||
| .gitignore | ||
| .prettierrc.json | ||
| babel.config.json | ||
| CODE_OF_CONDUCT.md | ||
| CODING_GUIDELINES.md | ||
| cypress.json | ||
| docker-compose.yml | ||
| Dockerfile | ||
| Gruntfile.js | ||
| import.js | ||
| jest.config.ts | ||
| jest.setup.ts | ||
| LICENSE | ||
| nginx-default.conf | ||
| nginx.conf | ||
| package.json | ||
| postcss.config.js | ||
| README.md | ||
| realm-settings.png | ||
| security-admin-console-v2-combined.json | ||
| security-admin-console-v2.json | ||
| snowpack.config.js | ||
| start.js | ||
| tsconfig.json | ||
| yarn.lock | ||
Keycloak Admin Console V2
This project is the next generation of the Keycloak Administration Console. It is written with React and PatternFly 4.
Development Instructions
For development on this project you will need a running Keycloak server listening on port 8180. You will also need yarn installed on your local machine.
-
Start keycloak
- Download and run with one command
$> ./start.js - or download Keycloak server from keycloak downloads page unpack and run it like:
$> cd <unpacked download folder>/bin
$> standalone -Djboss.socket.binding.port-offset=100
- Download and run with one command
-
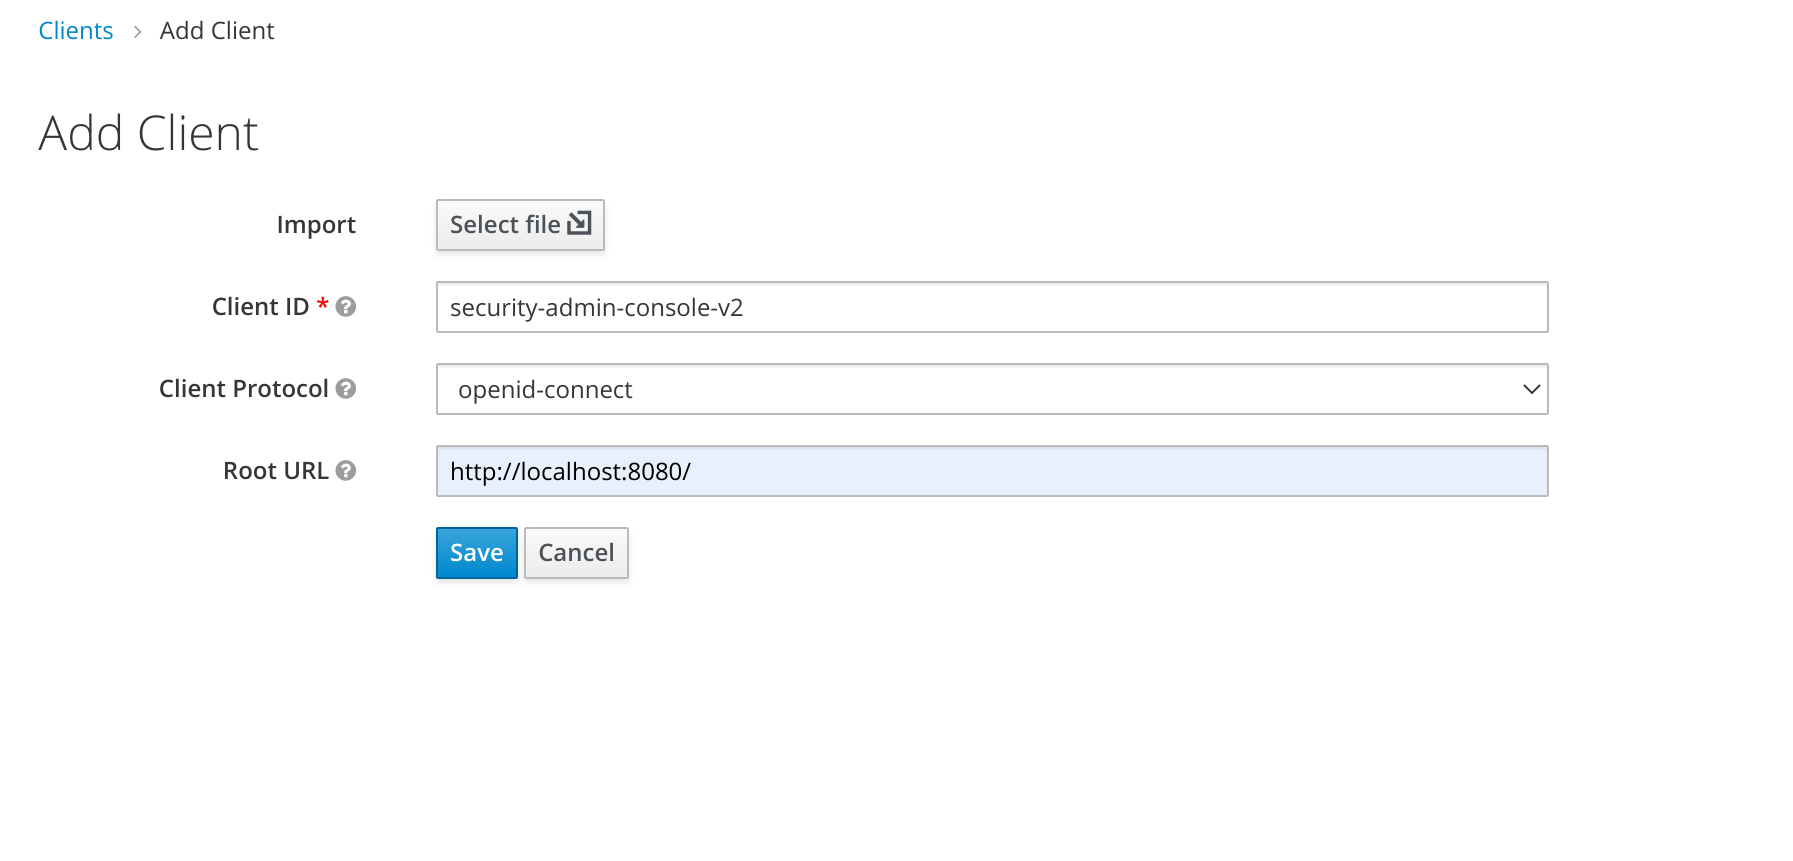
Go to the clients section of the existing Keycloak Admin Console and add the client
-
Install dependencies and run:
$> yarn
$> yarn start
Build and run through Docker
git checkout git@github.com:keycloak/keycloak-admin-ui.git
cd keycloak-admin-ui
docker-compose build
docker-compose up
You can reach the new admin interface at http://localhost
If your Keycloak instance is not on localhost:8180, create a file .env with the following:
KEYCLOAK_ENDPOINT=https:\/\/remoteinstance.keycloak.com
Additionally there are some nice scripts to format and lint
$> yarn format
$> yarn check-types
$> yarn lint
To switch to a RH-SSO themed version of this console you can run:
$> npx grunt switch-rh-sso
To switch back just do a git checkout public
Keycloak UI Test Suite in Cypress
This repository contains the UI tests for Keycloak developed with Cypress framework
Run the test suite
Prerequisites
Keycloak distributionhas to be downloaded and started on 8081 port.
note: the port in at the test suite side in cypress.json or at the Keycloak side, see Keycloak Getting Started Guide,npm package managerhas to be downloaded and installed.
via Cypress Test Runner
By using npx:
note: npx is included with npm > v5.2 or can be installed separately.
npx cypress open
After a moment, the Cypress Test Runner will launch:
via terminal
By executing:
$(npm bin)/cypress run
...or...
./node_modules/.bin/cypress run
...or... (requires npm@5.2.0 or greater)
npx cypress run
To execute a specific test on a specific browser run:
cypress run --spec "cypress/integration/example-test.spec.js" --browser chrome
note: the complete list of parameters can be found in the official Cypress documentation.
Project Structure
/assets (added to .gitignore)
  /videos - if test fails, the video is stored here
  /screenshots - if test fails, the screenshot is stored here
/cypress
  /fixtures - external pieces of static data that can be used by your tests
  /integration - used for test files (supported filetypes are .js, .jsx, .coffee and .cjsx)
  /plugins
    - index.js - extends Cypress behaviour, custom plugins are imported before every single spec file run
  /support - reusable behaviour
    - commands.js - custom commands
    - index.js - runs before each test file

/cypress.json - Cypress configuration file
/jsconfig.json - Cypress code autocompletion is enabled here
note: More about the project structure in the official Cypress documentation.
